General
As part of the PIRS project set up using the project import sheet, the folder structure is set up based on your project requirements.
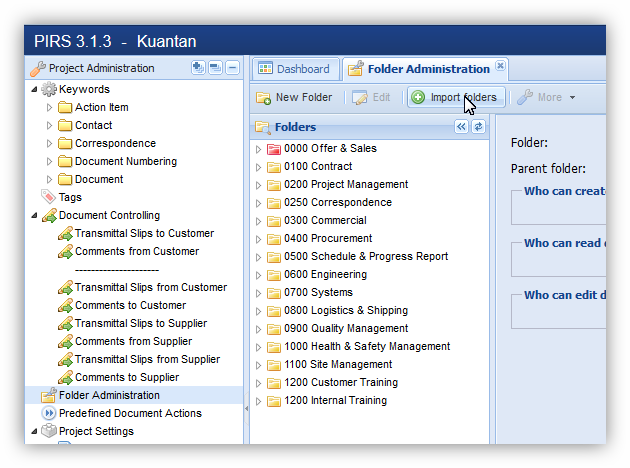
In case you need to modify or adjust this original folder structure or change access rights to folders, select the "Folder Administration" within your Project Administration area.
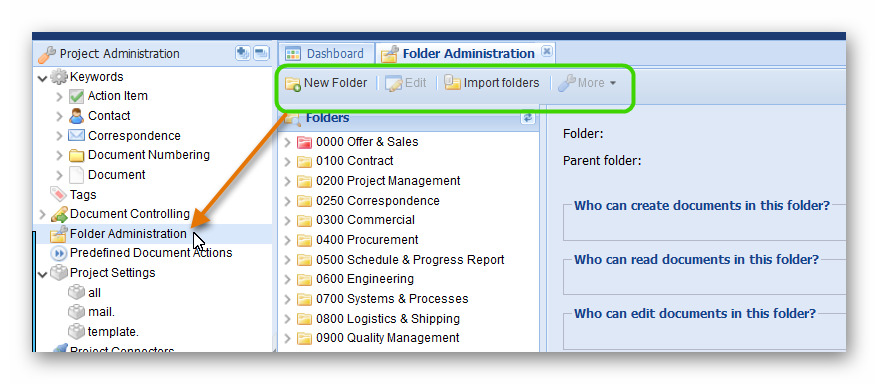
There you have the option to:
-
Rename existing folders
-
Delete existing folders
-
Relocate existing folders
-
Manage access rights to folders
-
Create new folders manually
-
Create new folders via Excel import
Rename, relocate and manage access rights to existing folders
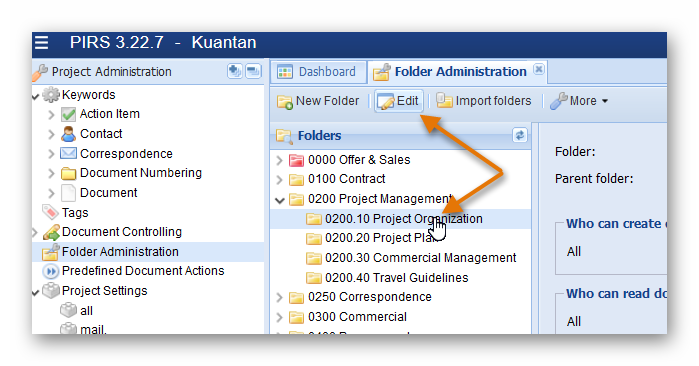
To rename an existing folder or sub-folder, either double click the folder or first select it then click the "Edit" button.
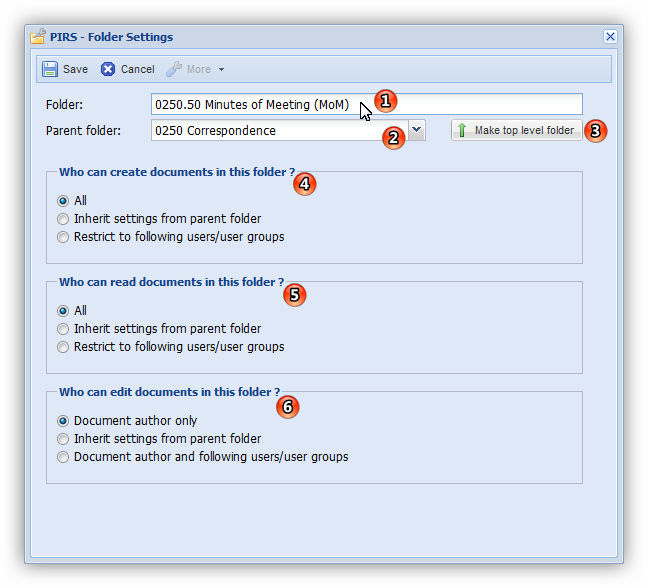
A new window will open allowing you to edit the specific folder settings. Following screenshot with highlighted numbers and the listed explanations illustrate the editing options:
-
Within the first text field of the editing window you can modify the folder name. Simply click in the text box and change the value.
-
The second text box shows the parent folder of this folder. You can select another parent folder by clicking the small downward pointing arrow.
-
In case the folder is supposed to be on the parent folder level, click the button beside the second text box.
-
to 6. To modify user access rights to a folder you can adjust three different access settings: creator, reader and editor.
By default the access rights of each folder will equal the general access rights of a user. So if a user has creator access to a project, he has automatically creator access to all folders unless the folder set up has be modified to regulate the access in a different way.
To change the access rights for each setting (indicated by number 4 - 6 in the screenshot) you can choose to inherit the settings from the parent folder if there is one. Keep in mind however that if you choose to inherit setting for one access level, all other access levels need to be inherit as well.
Furthermore, you can restrict the specific access to certain users and/or user groups. Users/user groups will be offered in a selection based on the address book and project user groups as soon as you select the option "Restrict to following users/user groups".
If you restrict all three access levels to certain users, the folder will not be visible for those users that are not listed in any of the access lists. User that have access to restricted / confidential folders will see these folders marked in red in their navigation. The folders are also marked within the folder administration.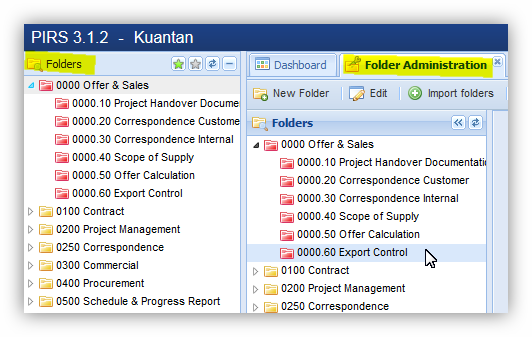
Create new folder(s)
There are two ways you can create new folders.
-
Create a new folder using the "New Folder" button:
After clicking the button the folder settings window will open allowing you to enter a folder name, select a parent folder if required and also set the access rights. -
Create new folders based on an excel file:
First create your folder import sheet by entering information for your new folder(s) within the table of the excel sheet provided within the template chapter. The file has an exemplary folder structure which will give you an orientation on how you need to enter and set up your folder structure for the import to be successful.Next click the "Import Folders" button.
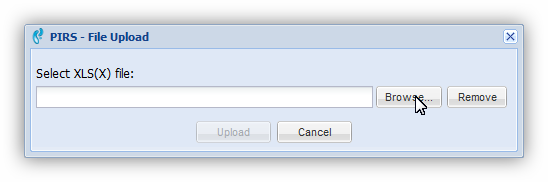
A message box will pop up allowing you to select the prepared excel file from your local client or server.
After you have selected the import sheet and clicked "Upload", PIRS will import all new folders based on the information provided in your excel file and include all new folders within your existing folder structure.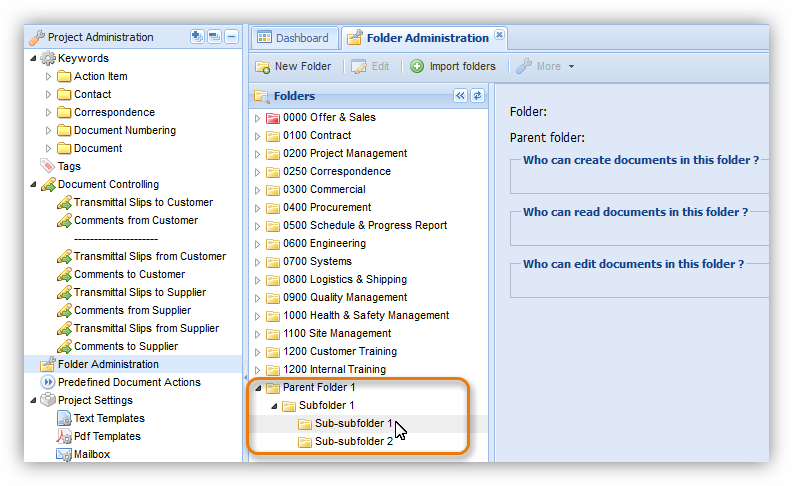
In order to adjust the location, folder names or access rights proceed as described above.
Delete folder(s)
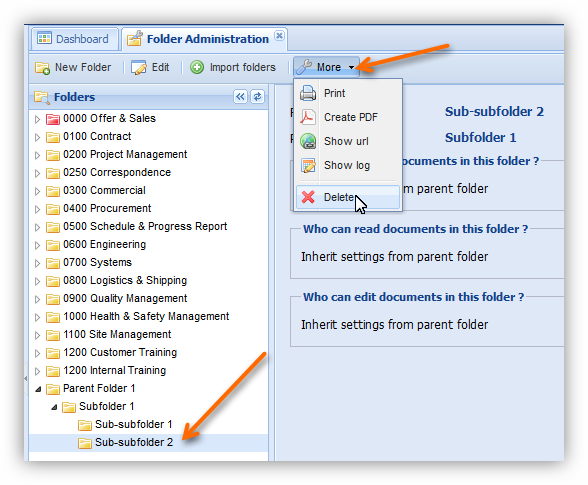
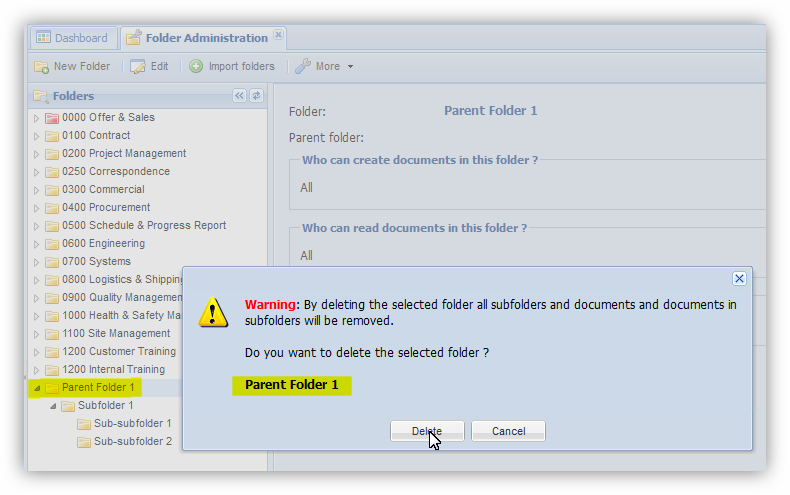
In order to delete a folder first mark the folder in question then click the "More" button and select "Delete" as illustrated in the following screenshot.
A message box will ask you if you are sure that you want to delete the selected folder.
| Please be aware that by deleting a folder you automatically delete all correspondence and documents stored within this folder. In case you delete a parent folder the message box will also point out that by deleting a parent folder you automatically delete all sub-folders. So deleting a parent folder will also delete the sub-folders and the documents and correspondence stored within the parent as well as the sub-folders. |
Should you have deleted a folder precipitately and need to restore it, you are able to do so at the folder section of your Project Administration Recycle Bin.
Select the recycle bin within your navigation area and click "Folders". The content area will display a list of all deleted folders and indicate whether or not the respective folder had a parent folder that was also deleted. A sub-folder can only be restored if the parent folder has been restored or wasn’t deleted in the first place.

In order to restore a folder first mark the folder than click the "Restore Folder" button.