General
In addition of being user specific, the project dashboard is also project specific. This means that one user can have one global dashboard while maintaining several project dashboards. Each project dashboard can be customized according to the user’s project specific preferences.
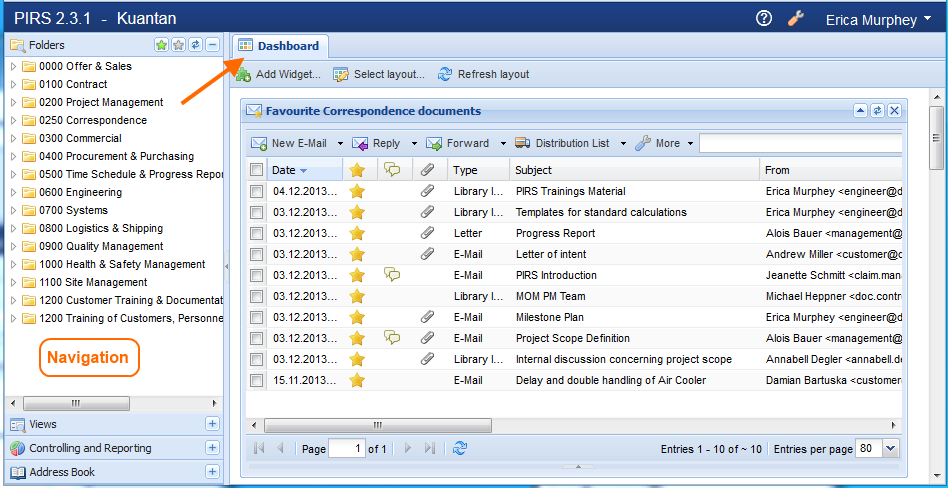
After selecting and opening a project, the project will open in a separate tab in your browser. As it is custom, the left hand side displays the navigation area with the project specific folder structure as well as other options (compare chapter User Interface and Navigation). On the right hand side the project dashboard is displayed as main view and first tab, as indicated by the following image.
|
Default Dashboard |
Adjust your widgets
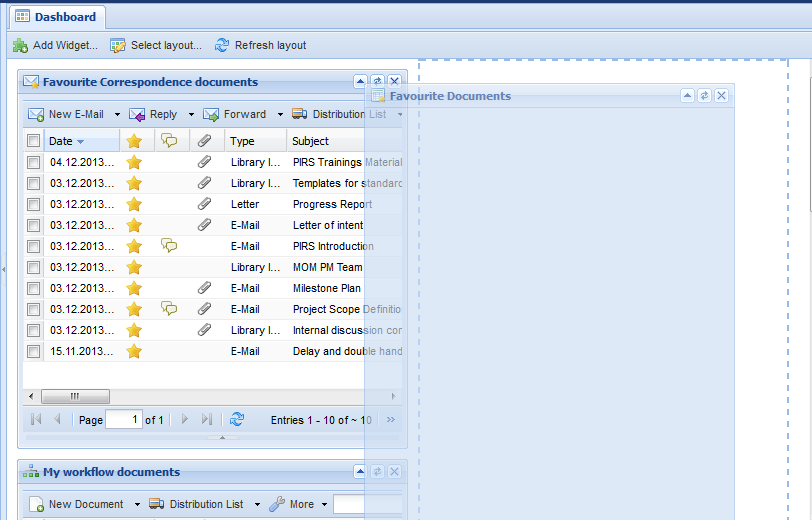
As default setting the widget "My Correspondence/Received" is displayed and while the upper part shows all your received correspondence in a table, the lower part provides you with a preview of the correspondence you selected out of your above displayed files.
Similar to the global dashboard the action "Add Widget" located in the upper left corner of the dashboard gives you the opportunity to open a window which offers a variety of different widgets. By adding widgets you can modify, adjust and personalize your dashboard settings.
You simply select the widget you would like to add to your dashboard and confirm by clicking the "Add Widget" button, compare with the following image.
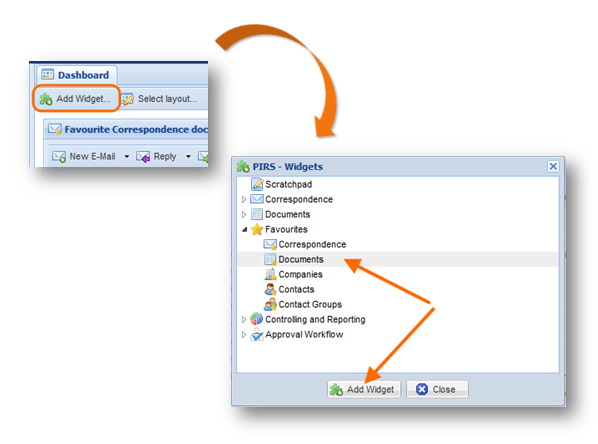
For your project dashboard you can choose between categories of widgets. Most of the widgets that you can attach to your dashboard co-insight with various PIRS views or charts form the controlling area. An exception is the option of the scratchpad which is a special feature of the dashboard that allows you to take quick notes, write project specific reminders to yourself for the next time(s) you open the respective PIRS project or you can use the blank area in any other way you might see fit.
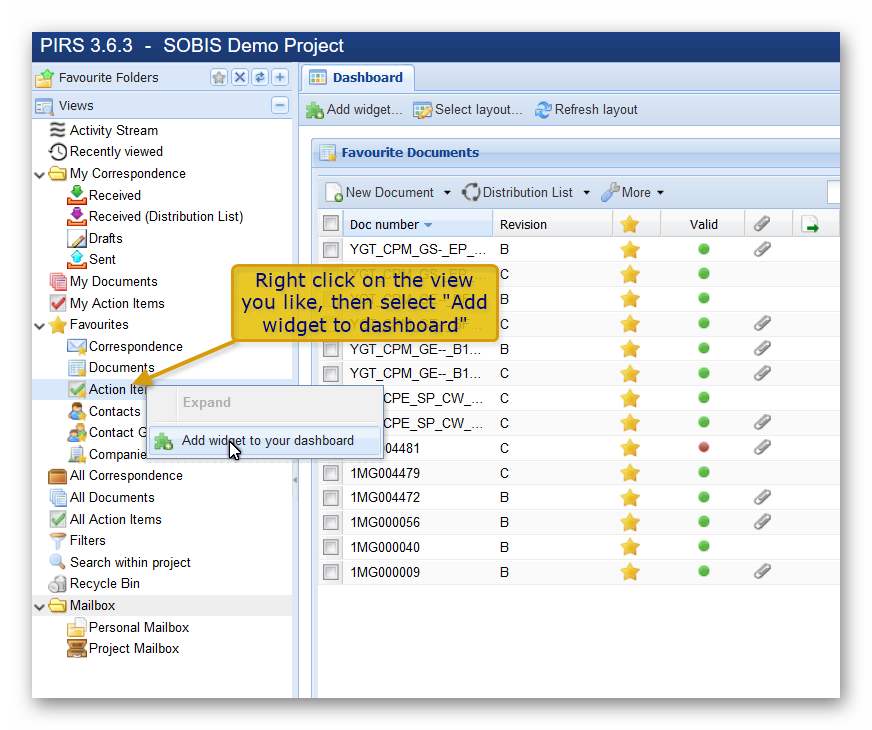
As a second option you can also select widgets directly within the View area of your navigation.
Right click the view you would like to add as a widget then select the option  .
.
To learn more about all the functions of the widgets offered for controlling please read the chapter "Document controlling". The category, the Approval Workflow, will only be presented to you if your PIRS project supports the PIRS Workflow Module. For further information about the workflow module please refer to "[The Document Workflow Module]" and "The PIRS Views".
Adjust your layout
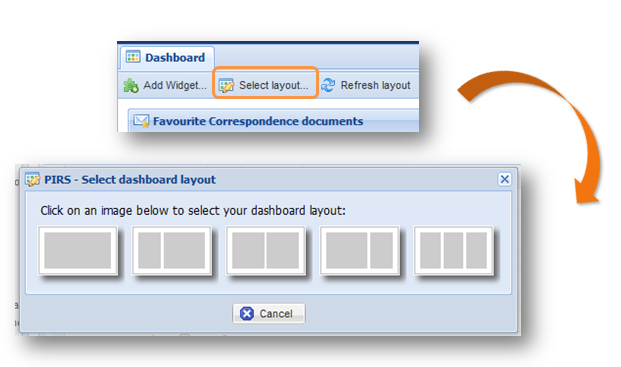
PIRS lets you define the way your selected widgets will be arranged and positioned on the dashboard. By clicking the "Edit Layout" action which is located at the upper left hand side of your dashboard (outlined in red on the following image) you will open a window that offers five different layout styles.
After having selected the widgets you like to display on your dashboard as well as your preferred dashboard layout you can arrange the widgets by simply using "drag & drop" as indicated in the following image.