General
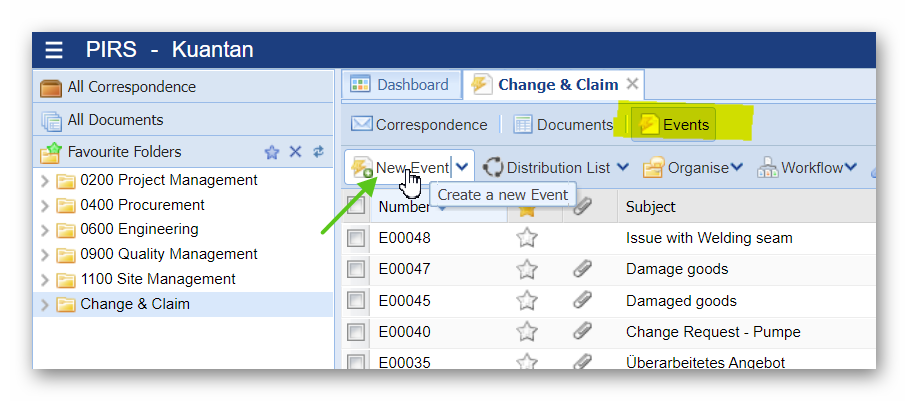
In order to create an event you simply click the “New Event” button that is presented to you in the Event section of your folders or within any Event view as indicated in the screenshots. A new Event document will open in a new tab within your content area.
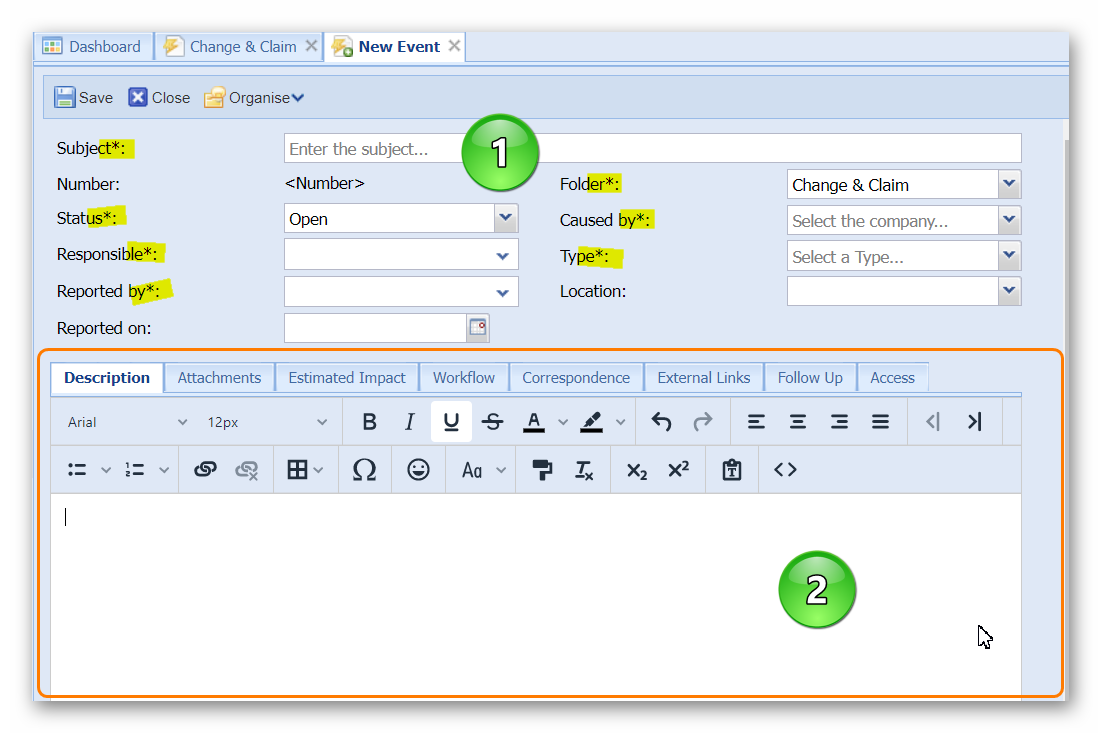
The following image and its related description will give you a quick overview of the information to be entered in an Event and its purpose.
-
This area is the header of the Event. Here the main Event documentation and categorization e.g. in form of a short description (Subject), the event status and type as well as the responsible and and the company that caused the event can or must be entered. All mandatory fields are marked with a * symbol, highlighted in the screenshot above.
-
The tabs in the area below the header offer you the option to include additional and more detailed information about the event. The first tab lets you insert a detailed description of the event while the second tab enables you to upload any files related to the Event e.g. photos, calculations or documents for the construction site.
The predicted or recorded time and cost impact of the event can be calculated and documented in the third tab. Here you can select whether or not you expect an impact on your schedule and pick the schedule entry or milestone / project phase that will be affected. In case a specific date was defined by a contract you can also include it together with the estimated deviation.
| Working days will be taken into consideration for calculating the delay between the Contract Date and the Estimated Date. The definition of working days should be established at the project or application level. If you require assistance in setting up working days in general, please reach out to SOBIS. |

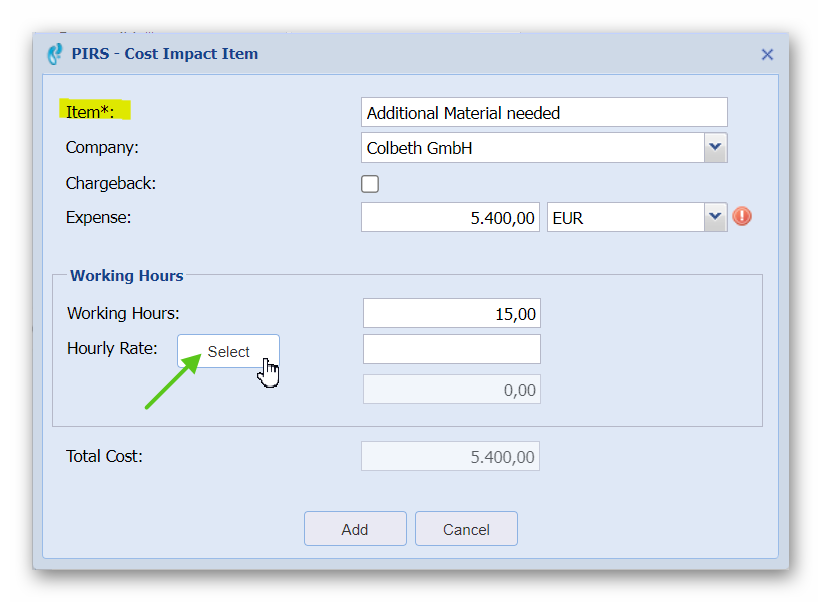
To add estimated costs, click the "Add" action as displayed above. A small input mask will open, allowing you to enter a title, company, expected expenses and list working hours for which you can pick hourly rates based on your company rates. In case chargeback costs are expected they can also be listed in a separate cost item entry.
If workflows are used to manage internal information or approval processes, the "Workflow" tab will allow you to pick and assign the right WF.
Within the "Correspondence" tab you will see all notices that have been sent and the "External Links" tab enables you to insert a link to another webtool or any website (e.g. google maps).
In the screenshot above you also see a tab called “Follow Up”. This tab can be defined by you and offers the option to include a simple or complex input mask. Your company can use this feature to include any other meta data that needs to be entered. You could for example document follow up processes such as Claims, Change Order, Instruction, Non Conformity and so on.
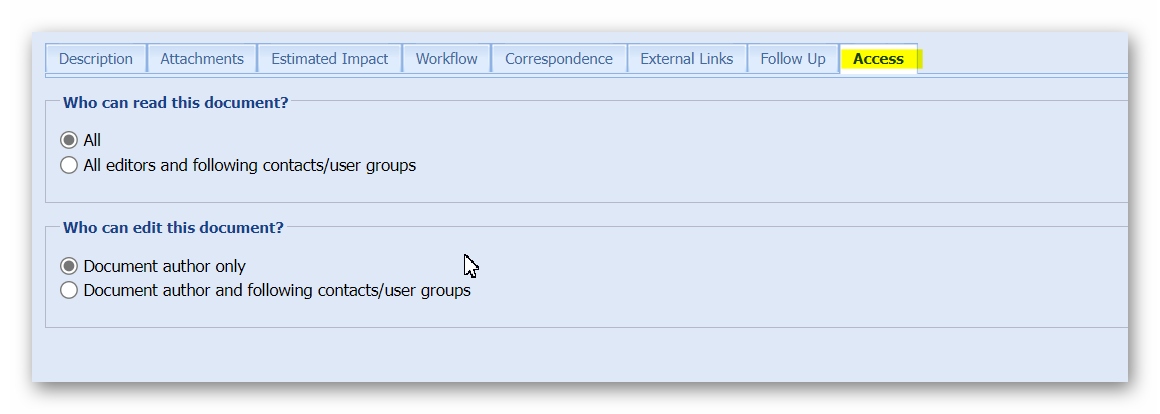
The last tab offers the option to define or limit the access other team members will have to the Event. Unless the access is already defined by the folder, by default all team members will be able to read your document. However, you will be the only person with author rights which means that other than you only team members that have admin rights will be able to edit this document. (Compare with the image below.)
Save your Event
If you have entered all important and required information, click save in order to save the Event.
Once an Event is saved, it automatically receives a unique document number. Compare with highlighted area in the screenshot below. Furthermore, additional buttons appear within the document action bar.
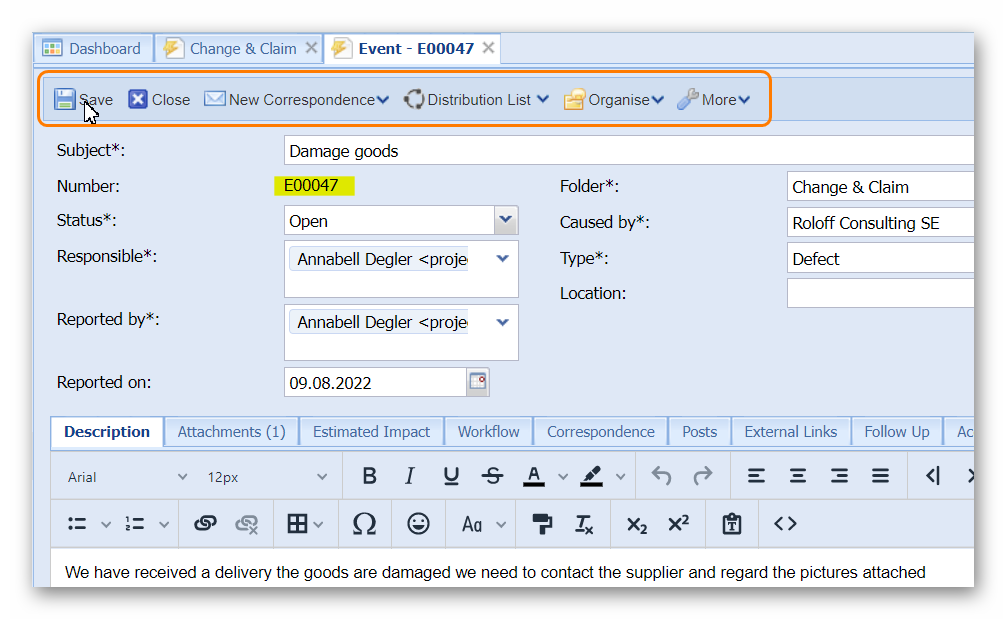
All general options and actions offered within the action bar are described within the chapter PIRS Tool Bar Actions.
Use Office Templates
In case your company has provided SOBIS with office templates used to document e.g. non conformities, changes, instructions, damage reports and so on, you can use the information recorded in your Event to create these documents based on your templates.
You will finde the templates within the "Create file from template" feature listed under the "More" options.
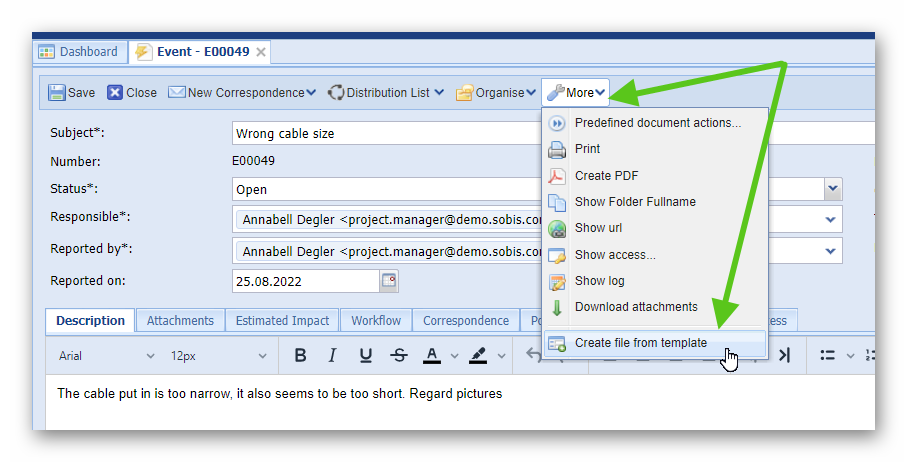
To learn more about the template feature please refer to chapter Create file from template.